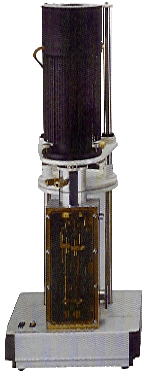
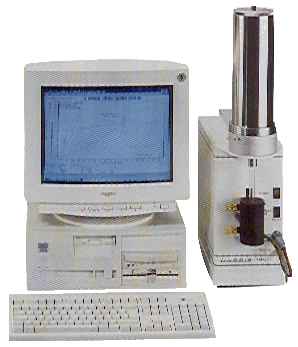
Dual pushrod dilatometers can perform 2 absolute measurements or 1 differential measurement between 2 samples. Dual pushrod dilatometers are available in vertical models only.
|
The L75D models available are: L75D/1000 vertical dilatometer, L75D/1250 vertical dilatometer, L75D/ 1 550 vertical dilatometer, L75D/ 1 750 vertical dilatometer, L77/1000 DMA vertical |
 |
Instrument calibration insures the best test results of material expansion or shrinkage. (see DIN51045). Calibration is performed using one of the following reference materials depending on temperature range: platinum, sapphire tungsten, quartz, fused silica, or copper. Test conditions must be duplicated during the calibration procedure including heating rate, sample holder material, furnace, gas flow, and atmosphere conditions.
Dilatometers with a temperature range up to 1550°C are available as table- top units. The L75/1750 and L75/2300 dilatometers are available with floor mounted cabinets. All vertical dual pushrod dilatometers feature a motor driven furnace lift. All dilatometers have auto-zeroing and automatic sample length measurement included. The vertical models eliminate any friction between the sample and the measuring system. Optionally an automatic pressure control is available. The dual pushrod operation, when used for higher temperatures with AI2O3 measuring system, is the ideal way to achieve the highest possible resolution of a dilatometer. The DMA L77 is for dynamic mechanical analysis, measuring penetration, dilatation and E-modulus.

| calibration standard | temperature range | (CTE) 10E-1 (K-1) |
| fused silica | -193°C - 1407°C | 4 |
| quartz | -193°C - 1727°C | 0,5 |
| copper | -253°C - 1527°C | 17 |
| platinum | -120°C - 1620°C | 10 |
| sapphire | -120°C - 1727°C | 9,5 |
| tungsten | -196°C - 1527°C | 4 |
The difference between the theoretical and the measured expansion values as a correction function and can be displayed graphically. Most reference materials are available with a calibration certificate.
Dilatometer Furnace Systems |
Dilatometer Software
Dilatometer Applications
Information: info@linseis.com
Webmaster: BRT